

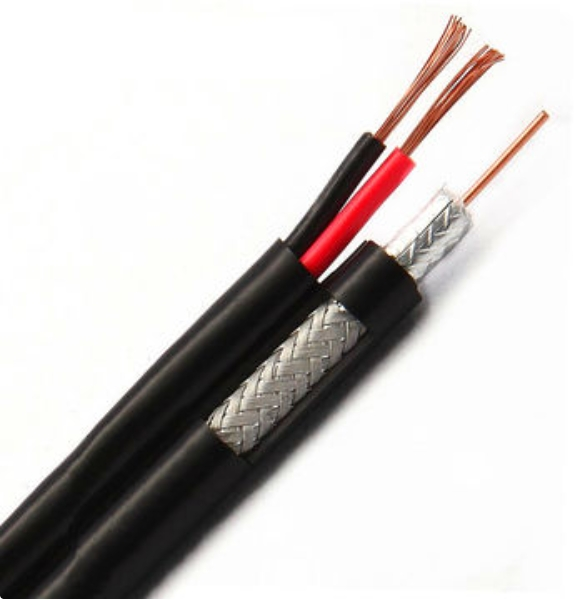
Terminating a fiber optic cable is the process of attaching a connector to the end of the fiber to allow it to be connected to network equipment or patch panels. Proper termination is crucial for maintaining signal integrity and preventing light loss. Here’s a step-by-step guide on how to terminate a fiber optic cable:
Tools and Materials Required
- Fiber optic connectors (SC, LC, ST, etc.)
- Fiber optic stripper
- Cleaver (to cut the fiber end cleanly)
- Crimping tool (for certain types of connectors)
- Epoxy or adhesive (for epoxy-based connectors)
- Polishing film or tool (for polishing the connector end)
- Cleaning supplies: Isopropyl alcohol, lint-free wipes
- Scribe tool (for trimming the fiber end)
- Curing oven (for epoxy-based connectors)
- Visual Fault Locator (VFL) or Optical Power Meter (for testing after termination)
Steps for Fiber Optic Cable Termination
1. Prepare the Fiber Cable
- Strip the cable: Use the fiber optic stripper to carefully remove the outer jacket of the fiber optic cable, exposing the inner fibers.
- Strip the buffer coating: Once the outer jacket is removed, strip the protective buffer coating (usually 250 microns) from the fiber using the stripper. This exposes the bare glass fiber, which is usually around 125 microns in diameter.
- Clean the fiber: Use isopropyl alcohol and a lint-free wipe to clean the bare fiber. This removes any debris or dirt that can affect signal quality.
2. Cleaving the Fiber
- Use a fiber cleaver: Place the stripped fiber in the cleaver and align it according to the manufacturer’s instructions. The cleaver ensures the fiber is cut at the correct angle for optimal light transmission.
- Perform the cleave: Once aligned, press down on the cleaver to cut the fiber end cleanly. A good cleave is essential for effective signal transmission and minimal light loss.
3. Attach the Connector
The next step depends on the type of connector you’re using. The most common types are epoxy/polish and pre-polished/crimp connectors.- Epoxy/Polish Connector Termination:
- Apply the epoxy: Mix the epoxy (if required) and inject it into the connector’s ferrule (the part that holds the fiber in place).
- Insert the fiber: Insert the cleaved fiber into the connector ferrule, making sure it is fully seated.
- Cure the epoxy: If using epoxy, place the connector in the curing oven and allow it to harden according to the manufacturer’s recommended time.
- Crimp the connector: Use the crimping tool to secure the fiber and connector in place.
- Trim excess fiber: Use the scribe tool to break off any excess fiber that extends beyond the connector ferrule.
- Pre-Polished/Crimp Connector Termination:
- Insert the fiber: Insert the stripped and cleaved fiber into the pre-polished connector.
- Crimp the connector: Use the crimping tool to secure the connector to the fiber.
- No polishing required: Since the connector is pre-polished, no additional polishing is needed for this type of termination.
4. Polishing the Fiber End (for Epoxy Connectors)
- Polish the connector end: After the epoxy has cured, you will need to polish the fiber end to ensure a smooth, flat surface for optimal light transmission.
- Use polishing films: Start with a coarser polishing film (5 microns) and gradually work your way down to a finer film (0.3 microns). Apply light pressure and polish in a circular motion until the fiber end is flush with the ferrule.
- Inspect the fiber end: Use a fiber optic microscope to inspect the polished connector end for scratches or imperfections. A well-polished fiber should have a smooth, clean surface with no visible defects.
5. Test the Termination
After the fiber has been terminated, it’s important to test the connection to ensure it is working properly and that there is minimal signal loss.- Use a Visual Fault Locator (VFL): A VFL sends visible red light through the fiber. If there is any light leakage or breaks in the fiber, the VFL will indicate the problem.
- Use an Optical Power Meter: An Optical Power Meter can measure the amount of signal loss (in dB) at the terminated end. This test will give a more precise measurement of the termination quality.
Types of Fiber Optic Connectors
- SC (Subscriber Connector): A popular push-pull connector used in data networks.
- LC (Lucent Connector): A smaller form factor connector, widely used in high-density networks.
- ST (Straight Tip): A bayonet-style connector used in industrial and military applications.
- FC (Ferrule Connector): A threaded connector commonly used in telecommunication networks.