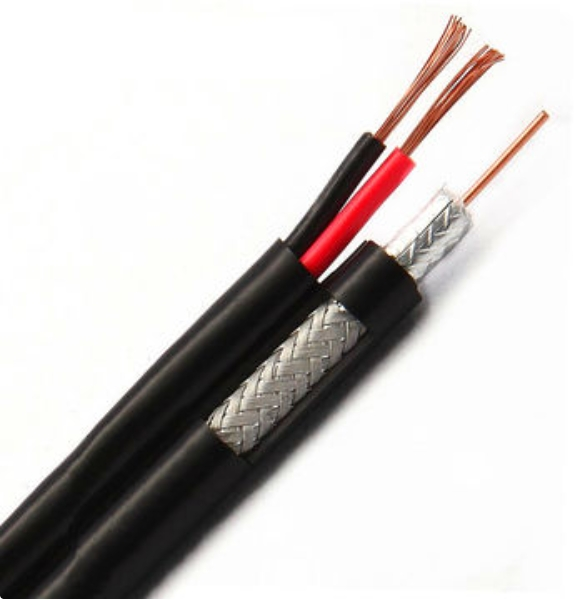
In today’s connected world, network cables serve as the lifelines of our digital communication. Whether you’re setting up a home office or a corporate network, knowing how to install network cables is an invaluable skill. In this comprehensive guide, we’ll walk you through the step-by-step process of installing
network cables, ensuring a smooth and reliable connection for your digital endeavors.
Step 1: Gather Your Tools and Materials
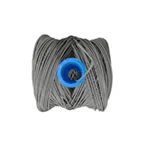
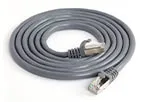
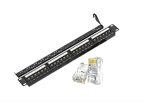
Before you begin, make sure you have all the necessary tools and materials at hand. You’ll need network cables (Cat 5e, Cat 6, or higher), cable connectors (RJ45), a cable tester, a crimping tool, a cable stripper, and a screwdriver. Ensure you’re working in a safe and well-lit environment.
Step 2: Plan Your Cable Route
Determine the optimal path for your network cables. Avoid sharp bends and tight twists, as these can degrade signal quality. Plan the route along walls, corners, or ceilings to keep the cables organized and hidden.
Step 3: Measure and Cut the Cables
Measure the required length of cable for your installation. Add a few extra inches for flexibility. Use a cable stripper to carefully remove the outer insulation, revealing the twisted pairs inside. Untwist and straighten the wires.

Step 4: Attach the Connectors
Carefully align the color-coded wires according to the T-568A or T-568B standard (usually indicated on the connector packaging). Insert the wires into the RJ45 connector, ensuring they reach the end of the connector. Use the crimping tool to secure the connector, creating a tight and reliable connection.
Step 5: Test the Cables
After attaching the connectors, use a cable tester to verify the continuity and correctness of the connections. This step ensures that your cables are properly wired and will deliver optimal performance.
Step 6: Secure the Cables
Use cable clips, adhesive cable holders, or cable ties to secure the cables along the planned route. This prevents tangling and tripping hazards, maintaining a neat and organized setup.
Step 7: Connect and Test
Plug one end of the network cable into your device (computer, router, or switch) and the other end into the corresponding port. Power on your devices and ensure that you have a stable network connection. Test the speed and stability of your connection using online tools or software.
Conclusion:
Installing network cables may seem like a daunting task, but with the right tools and careful execution, it becomes a manageable process that greatly enhances your connectivity. By following this step-by-step guide, you’ll be able to set up network cables confidently, ensuring reliable communication and seamless digital experiences.Remember, proper cable installation is crucial for optimal network performance. Whether you’re setting up a home network or a business infrastructure, mastering the art of installing network cables opens the door to a world of seamless communication and connectivity.
관련 제품 및 조달 링크
관련 산업자원