

Connecting a fiber optic cable involves ensuring proper alignment, cleanliness, and secure connections to maintain high-speed data transmission with minimal signal loss. Here’s a step-by-step guide on how to connect a fiber optic cable:
1. Gather Required Tools and Materials
- Fiber optic cables: Single-mode or multi-mode, depending on the application.
- Fiber optic connectors: Types such as SC, LC, ST, or FC.
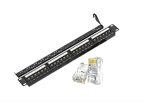
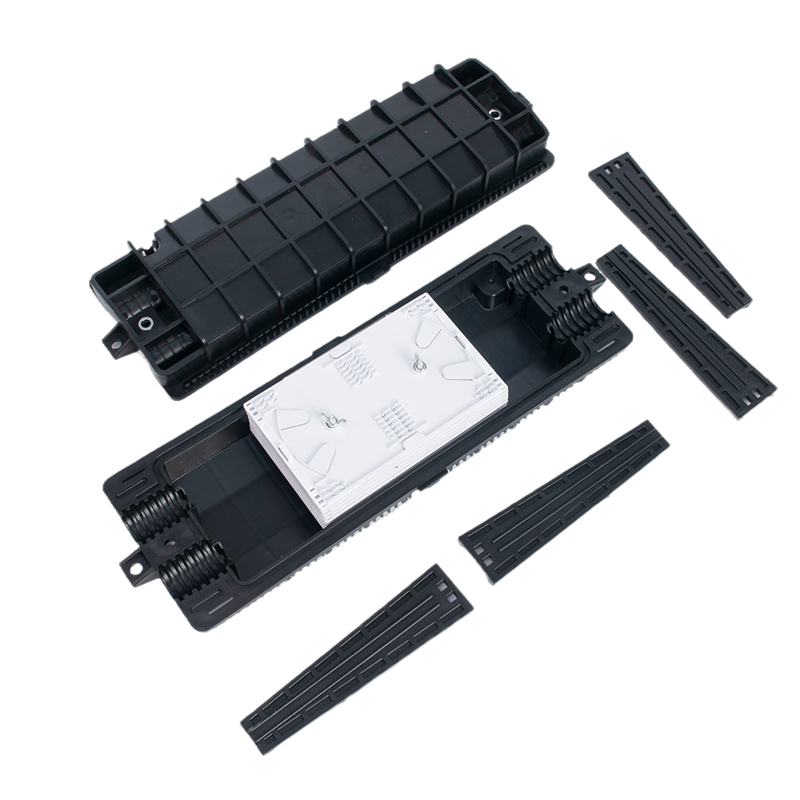
- Fiber optic patch panels or enclosures (if connecting to a structured cabling system).
- Cleaning supplies: Isopropyl alcohol and lint-free wipes for cleaning connectors.
- Visual Fault Locator (VFL) or Optical Power Meter for testing (optional but recommended).
2. Inspect and Clean the Connectors
Clean connectors are essential for a proper connection, as dirt or dust on the connectors can significantly degrade the signal.- Inspect the connectors: Visually inspect the fiber optic connectors for dirt or scratches. Use a fiber microscope if available.
- Clean the connectors: Use isopropyl alcohol and lint-free wipes to clean the fiber optic connector end-faces. Wipe the connector in one direction to avoid smudging. You can also use specialized fiber optic cleaning tools.
3. Prepare the Fiber Optic Cable
If the fiber optic cable has not yet been terminated (i.e., if the ends are not fitted with connectors), you’ll need to terminate the fiber using one of the methods such as epoxy-polish or mechanical splice connectors (refer to the “How to Terminate a Fiber Optic Cable” guide). For this step, it is assumed that the fiber optic cables are already terminated with connectors.4. Align the Connectors
Fiber optic connectors, like SC, LC, ST, or FC, must be properly aligned when connecting two fiber optic cables or plugging a cable into a device or patch panel. Here’s how to align the most common connector types:- SC (Subscriber Connector): Align the square-shaped connector and push it into the port until it clicks in place. SC connectors use a push-pull mechanism for easy insertion and removal.
- LC (Lucent Connector): Smaller than SC connectors, LC connectors also use a push-pull mechanism. Align the tab on the connector with the port and push it in until it clicks.
- ST (Straight Tip Connector): Insert the round connector into the port and twist it to lock it in place using the bayonet mechanism.
- FC (Ferrule Connector): Align the connector and screw it into place for a secure connection.
5. Connect the Fiber Optic Cables
- Direct connection: If you’re connecting two fiber optic cables directly, use a fiber optic coupler (also known as an adapter). Insert the connector of each fiber into the appropriate side of the coupler, ensuring the connectors are seated firmly.
- Patch panel connection: If you’re connecting a fiber optic cable to a patch panel:
- Insert one end of the fiber optic cable into the patch panel port.
- Connect the other end of the fiber optic cable to the networking device, such as a switch, router, or media converter.
- Connecting to a device: When connecting to a network device with fiber optic ports (like an SFP module or optical transceiver):
- Insert the connector into the transceiver or port on the device.
- Ensure the connector is securely locked in place (for LC or SC connectors).
6. Secure and Organize the Cables
- Cable management: Use cable management tools like cable ties, Velcro straps, or cable trays to ensure that the fiber optic cables are neatly organized and not subject to sharp bends, twists, or excessive tension. Fiber optic cables are sensitive to bending, so avoid any sharp bends that could cause signal loss.
- Patch panel organization: If using a patch panel, label the ports and cables for easy identification and maintenance.
7. Test the Connection
Once the fiber optic cables are connected, it’s important to test the connection to ensure it’s functioning properly and that there’s no excessive signal loss. You can use the following tools:- Visual Fault Locator (VFL): A VFL sends a visible red light through the fiber optic cable to check for breaks or signal leakage.
- Optical Power Meter (OPM): An OPM measures the amount of light being transmitted through the fiber optic cable and determines the level of signal loss (attenuation).
- Optical Time-Domain Reflectometer (OTDR): For a more detailed test, an OTDR can be used to analyze the entire length of the fiber optic cable, identifying loss points, breaks, or splices.