
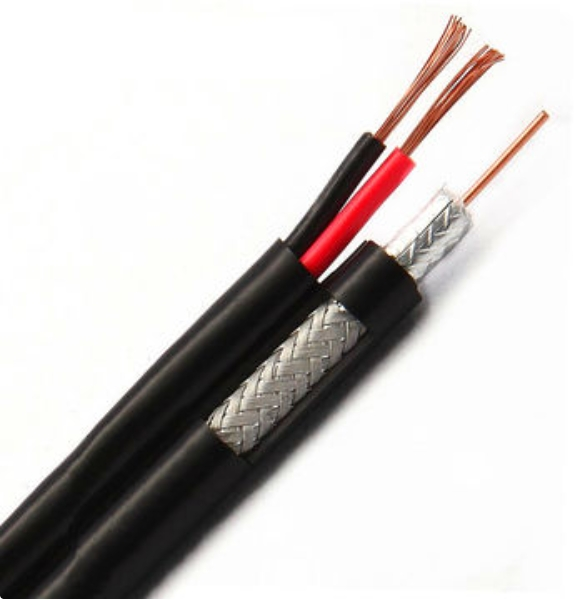
Fixing a fiber optic cable is a delicate and technical process, as these cables are highly sensitive and fragile. Fiber optic repairs typically involve splicing or replacing damaged sections, and the process requires specialized equipment and a clean, dust-free environment. Here’s a step-by-step guide:
1. Identify the Problem
Before you begin repairing the fiber optic cable, it’s crucial to diagnose the issue:- Use a visual fault locator (VFL) or optical time-domain reflectometer (OTDR) to pinpoint the exact location of the break or fault.
- Inspect for visible damage, such as a cut, bend, or worn-out section.
2. Gather Required Tools and Equipment
To fix a fiber optic cable, you’ll need the following:- Fiber optic stripper: To remove the cable jacket.
- Cleaver: To cut the fiber ends cleanly.
- Fusion splicer: For splicing two fiber ends together.
- Splice protection sleeve: To protect the joint after splicing.
- Cleaning materials: Isopropyl alcohol and lint-free wipes to clean the fiber.
- OTDR or VFL: To test the repaired fiber.
3. Prepare the Fiber Cable
- Turn off power: Ensure no light signal is being transmitted through the fiber cable.
- Strip the cable: Use the fiber optic stripper to remove the outer jacket and expose the fibers inside. Be careful not to damage the fibers while stripping.
- Clean the fibers: Use isopropyl alcohol and lint-free wipes to clean the exposed fiber strands thoroughly.
4. Cleaving the Fiber
Cleaving is the process of cutting the fiber at a precise angle to ensure a clean, smooth surface for splicing. Use the following steps:- Place the fiber in the cleaver, ensuring it is aligned properly.
- Cut the fiber with the cleaver to create a smooth, flat end.
5. Splicing the Fiber (Fusion Splicing)
- Place the two cleaved fiber ends in the fusion splicer. The splicer aligns the fibers using electrodes and melts them together using heat.
- After splicing, the splicer will assess the quality of the joint and display the estimated splice loss.
- Once spliced, slide a splice protection sleeve over the joint and use a heat shrink tool to secure it, ensuring the joint is well-protected.
6. Test the Splice
- After completing the splice, use a VFL or OTDR to test the connection and verify that the signal is being transmitted properly through the repaired section.
- Check for any signal loss or attenuation at the splice joint.
7. Reassemble the Cable
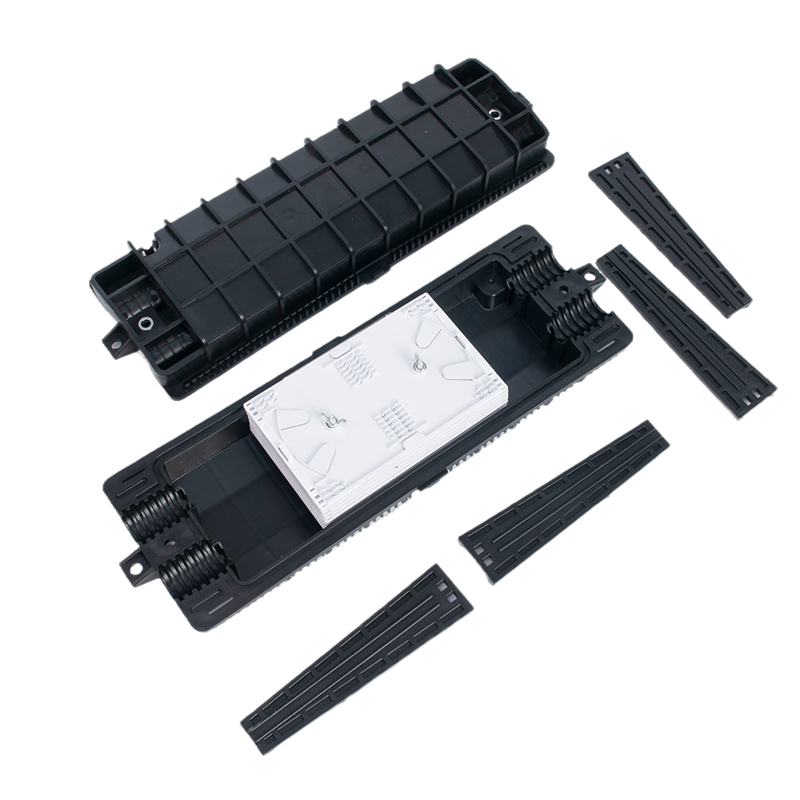
- Once the repair is complete and the connection has been tested, reassemble the cable by carefully positioning the repaired section in the splice closure or cable housing.
- Ensure that the protective tubing or jacket is restored to protect the fibers from external elements.
8. Additional Options: Mechanical Splicing
- If fusion splicing equipment is not available, you can use mechanical splicing as an alternative. In mechanical splicing, the two fiber ends are precisely aligned and held in place by a splice connector, which does not involve heating or fusing the fibers.
- This method is less permanent and may result in higher signal loss than fusion splicing.
Tips for a Successful Repair
- Avoid sharp bends: Fiber optic cables are sensitive to bending, which can cause attenuation or breakage. After repair, avoid sharp bends along the cable’s path.
- Maintain cleanliness: Dust or dirt can significantly affect the quality of the splice, so always work in a clean environment.
- Use proper equipment: Trying to repair a fiber optic cable without specialized tools can result in poor performance or further damage.