

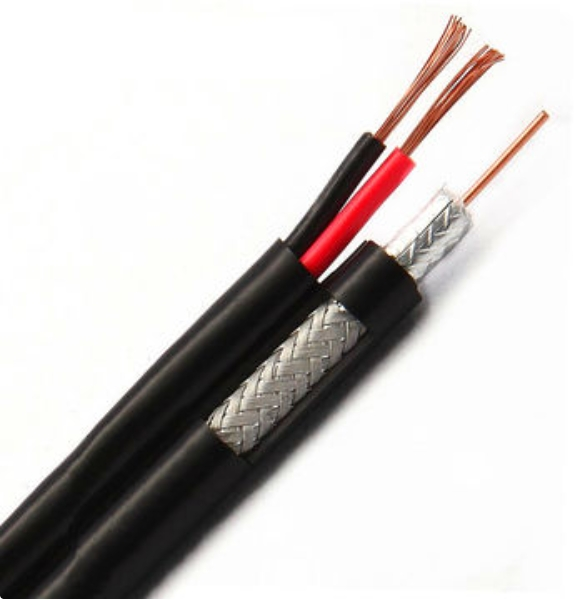
Installing fiber optic cables requires careful planning and attention to detail to ensure optimal performance and avoid damage. Here’s a step-by-step guide on how to install a fiber optic cable properly:
1. Plan the Installation
- Survey the installation site: Assess the environment and route where the cable will be installed (indoors, outdoors, underground, or aerial).
- Determine the type of cable: Choose the appropriate type of fiber optic cable (single-mode or multi-mode) and ensure it meets the requirements for the application and environment (e.g., indoor, outdoor, or armored).
- Check regulations and codes: Ensure that the installation complies with local building codes and safety regulations, especially for underground or aerial installations.
2. Gather the Necessary Tools and Materials
- Fiber optic cables (appropriate length and type)
- Fiber termination kit (if needed)
- Cable pulling tools (cable puller, fish tape)
- Cable ties, fasteners, or clamps
- Conduit or cable tray (if required)
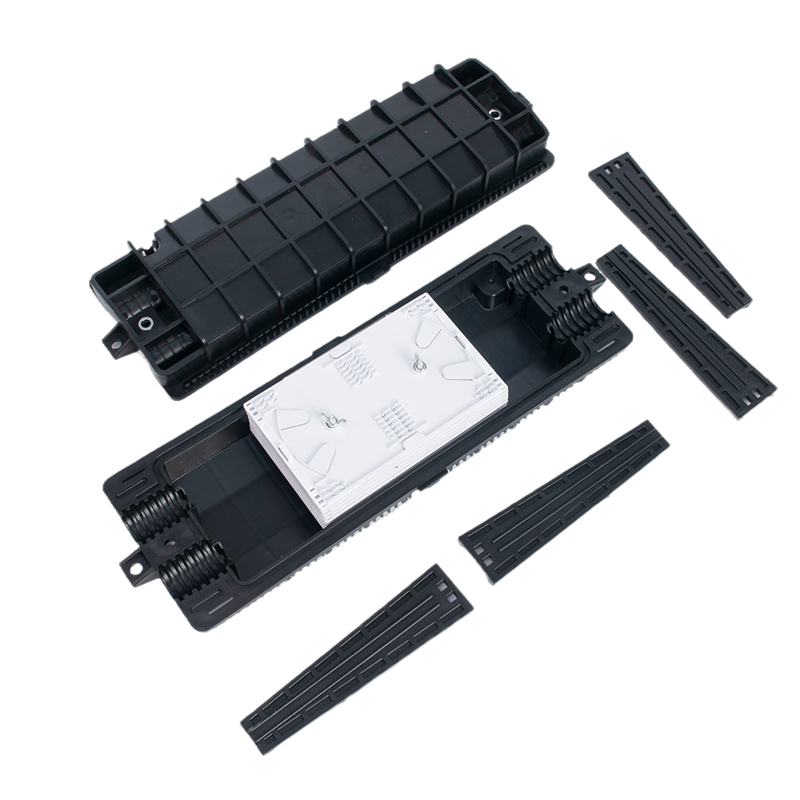
- Splice closures (for longer runs or fiber splicing)
- Fiber testing equipment (power meter, light source, OTDR)
3. Prepare the Cable Route
- Measure the path: Measure the cable route to ensure the cable is long enough to reach all required locations, accounting for any extra length needed for slack or turns.
- Install conduit or cable trays: For indoor or underground installations, lay conduit or trays to protect the cable from physical damage. For aerial installations, poles and support structures must be in place.
4. Pull the Fiber Optic Cable
- Indoor installations:
- Use cable trays, raceways, or conduits to pull the cable along the intended path.
- Be gentle to avoid excessive tension on the cable. Use cable pullers or fish tapes when pulling over longer distances or through tight spaces.
- Outdoor installations:
- For aerial installations, the cable should be suspended between poles using ADSS (All-Dielectric Self-Supporting) cables or messenger cables.
- For underground installations, the cable should be placed inside ducts or conduits to protect it from water, chemicals, and mechanical stress. Use a blowing machine or cable puller for longer distances.
- Ensure the pulling tension does not exceed the maximum rating for the cable, as excess tension can damage the fibers.
5. Install Cable Safely
- Avoid sharp bends: Ensure the cable does not exceed its minimum bend radius. Bending the cable too tightly can cause signal loss or breakage.
- Leave slack: Always leave a few meters of slack at both ends of the installation, near termination points or enclosures. This provides extra cable for future maintenance, testing, or re-termination.
- Secure the cable: Use cable ties, fasteners, or clamps to secure the cable along the path. Ensure the ties are not too tight, as this can damage the cable.
6. Terminate the Fiber Optic Cable
- Splicing or connectors: Terminate the ends of the fiber either by fusion splicing (preferred for outdoor and long-distance installations) or using fiber optic connectors (quick and ideal for indoor installations).
- For fusion splicing, use a splicing machine to permanently fuse the ends of the fibers together.
- For connectors, use a fiber termination kit to install connectors like SC, ST, or LC at the end of each fiber.
7. Test the Fiber Optic Cable
- After installation and termination, the cable must be tested for signal quality and performance.
- Use an Optical Time-Domain Reflectometer (OTDR) to check for faults, splices, or losses along the cable.
- Use a light source and power meter to verify the optical signal strength and performance. Ensure that losses are within acceptable limits based on industry standards.
8. Label and Document
- Clearly label each end of the fiber optic cable with information such as the location, type of fiber, and any other relevant details.
- Document the installation route, termination points, and test results for future reference.
9. Perform Final Checks
- Ensure that all connectors are properly installed and protected from dust.
- Verify that the cable is securely fastened along the entire route and not exposed to potential hazards.
- Test the system to confirm that it is functioning correctly with minimal signal loss.
10. Maintain the Cable
- Regularly inspect the cable, especially in outdoor or high-traffic areas, for any damage or wear.
- Perform routine tests on the fiber optic network to ensure that signal performance remains optimal over time.
Tips:
- Use fiber optic cables designed for the specific installation environment (indoor, outdoor, direct burial, aerial).
- Always handle fiber optic cables carefully to avoid microbends or damage that could affect performance.
- Avoid splicing if possible; longer cable runs with fewer splices are more efficient and reliable.