

Joining broken fiber optic cables requires careful handling, as fiber optics are delicate and require precise alignment for light transmission. Here’s a step-by-step guide on how to join broken fiber optic cables effectively, along with the tools and techniques required.
1. Assess the Break
- Identify the Break Location: Check if the cable is truly broken or just damaged on the outer layer. If the cable is entirely severed, proceed with the steps below.
- Clean the Cable Ends: Dirt and dust can affect light transmission, so clean both ends with a lint-free cloth and fiber optic cleaning solution.
2. Gather Necessary Tools
- Fiber Optic Cleaver: This tool makes precise, perpendicular cuts on the fiber ends, which is essential for proper alignment.
- Fiber Stripper: This is used to strip away the protective coating around the fiber.
- Fusion Splicer (preferred for high-quality, permanent splices): Fusion splicers weld the fiber ends together with minimal loss.
- Mechanical Splice Kit (an alternative to fusion splicing): These kits use alignment and index-matching gel to join fibers without welding.
- Protective Sleeving: Heat-shrink tubes or protective sleeves reinforce the spliced section and protect it from environmental damage.
3. Prepare the Fiber Ends
- Strip the Coating: Use the fiber stripper to carefully remove the outer coating around 1.5 inches from both ends.
- Clean the Bare Fiber: Clean the stripped fiber using isopropyl alcohol to remove any debris or oils that could affect the splice.
- Cleaving: Use a cleaver to cut both fiber ends so they are flat and perpendicular. An accurate cleave is essential for minimizing light loss at the splice.
4. Splicing the Fibers
- Fusion Splicing:
- Place each fiber end into the fusion splicer.
- The machine aligns the fibers and then fuses them using an electric arc.
- After splicing, inspect the splice through the splicer’s screen for quality and minimal light loss.
- Place a protective sleeve over the splice and use the heat element on the splicer to shrink the sleeve, providing durability and support.
- Mechanical Splicing:
- Insert the prepared fiber ends into a mechanical splice unit.
- Ensure both ends are aligned properly, as even slight misalignment can lead to signal loss.
- Tighten the mechanical splice and add index-matching gel, which reduces light reflection at the joint.
- Use a heat-shrink tube or sleeve to protect the joint.
5. Testing the Splice
- Use an Optical Time Domain Reflectometer (OTDR): This device tests for signal loss along the fiber. A good splice will show minimal loss.
- Check Signal Transmission: If the fiber is part of an active network, ensure that data transmission has resumed and the signal quality is stable.
6. Reinforce and Protect the Cable
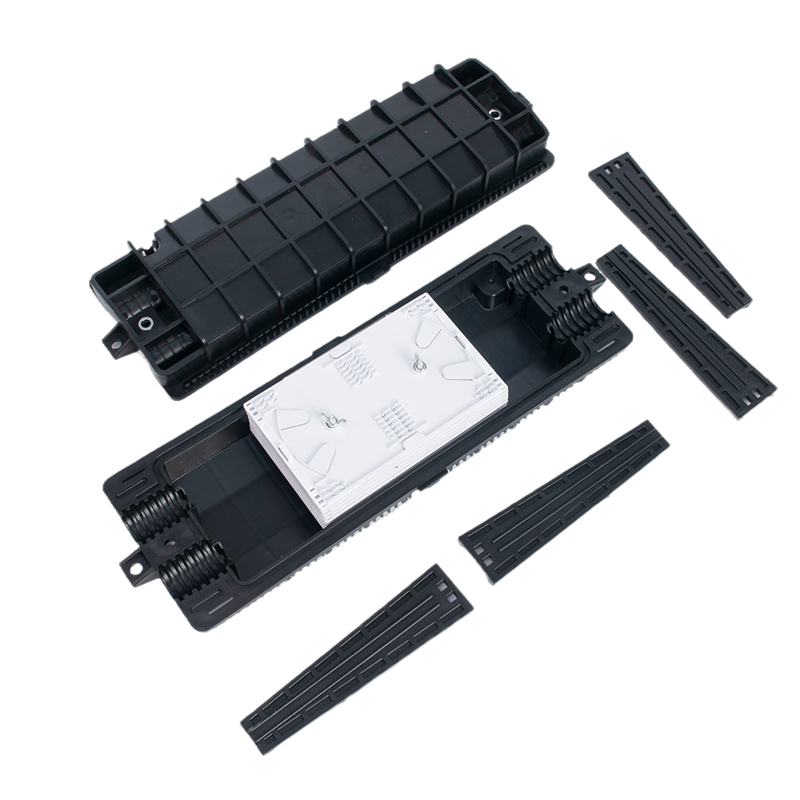
- Once spliced and tested, place the cable in a protective enclosure or conduit to safeguard it against future damage.