

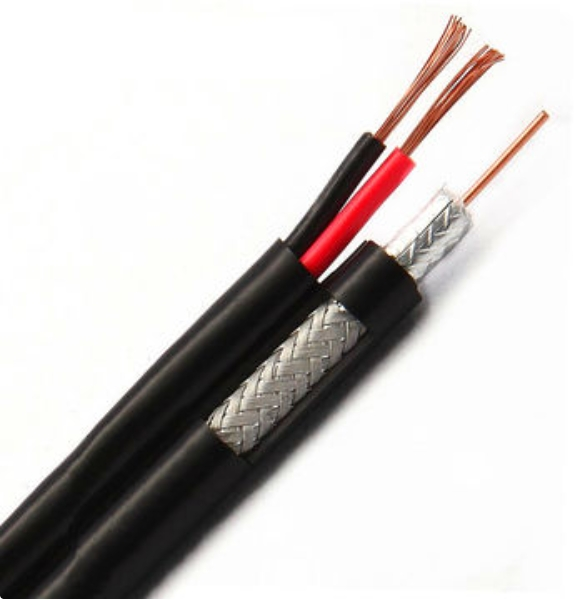
Terminating a fiber optic cable requires precision and the right tools to ensure proper connectivity and performance. Here’s a step-by-step guide on how to terminate a fiber optic cable effectively:
Tools You Will Need:
- Fiber optic stripper: To remove the buffer coating without damaging the core.
- Fiber cleaver: To precisely cut the fiber.
- Connector: LC, SC, ST, or other connectors, depending on your application.
- Epoxy or adhesive (if applicable): Some connectors require epoxy to hold the fiber in place.
- Polishing film: To polish the connector end.
- Crimp tool: To secure the connector to the fiber.
- Fiber optic cleaning wipes: For cleaning the fiber before termination.
- Fiber inspection microscope: To check the quality of the termination.
- Curing oven (for certain connectors): Used to cure epoxy.
- Scribe tool: For breaking excess fiber.
Step-by-Step Process for Terminating Fiber Optic Cables
1. Prepare the Fiber Cable
- Strip the Cable Jacket: Use a fiber optic cable stripper to carefully strip back the outer jacket of the cable, exposing the inner fiber strands (typically surrounded by Kevlar fibers and buffer tubes).
- Trim the Kevlar Fibers: Use scissors to trim the Kevlar fibers, leaving about an inch of exposed fiber.
- Strip the Buffer Coating: Use a fiber optic stripper to remove the buffer coating from the fiber strand itself (around 1.25 inches). This will expose the bare glass fiber.
2. Clean the Fiber
- Use fiber optic cleaning wipes or a lint-free cloth soaked in isopropyl alcohol to carefully clean the exposed glass fiber. Cleanliness is crucial to ensure proper light transmission.
3. Cleaving the Fiber
- Use a fiber cleaver to precisely cleave (cut) the fiber. The cleave must be smooth and flat to ensure optimal light transmission. Most cleavers are designed to produce a perfect 90-degree cut, which is essential for proper connection.
4. Install the Connector
Depending on the type of connector you’re using, the installation process may vary slightly:- Mechanical Connectors:
- Insert the cleaved fiber into the connector’s ferrule.
- Align the fiber properly so it reaches the required position inside the connector.
- Secure the fiber by crimping the connector using the crimping tool.
- Some mechanical connectors have a built-in mechanical splice, which holds the fiber in place.
- Epoxy/Polish Connectors:
- Apply a small amount of epoxy or adhesive into the connector ferrule.
- Insert the fiber into the connector so that it extends slightly out of the end.
- Place the connector in a curing oven (if applicable) to harden the epoxy.
- After curing, scribe and break the excess fiber sticking out of the connector using a scribe tool.
5. Polishing the Connector
- Use a polishing puck and polishing film to polish the tip of the connector (for epoxy/polish connectors).
- Polish the ferrule in a circular or figure-eight motion on different grades of polishing film (starting with coarse, then fine) until the surface is smooth and even.
- Check under a microscope: After polishing, inspect the fiber connector end using a fiber inspection microscope to ensure it is free of scratches, cracks, or other imperfections.
6. Secure the Connector
- Use the crimping tool to crimp the connector onto the fiber cable, ensuring it is securely attached.
7. Test the Termination
- After termination, it is important to test the fiber connection:
- Use an optical power meter or a light source to measure signal strength and check for any signal loss (attenuation).
- Optionally, use an Optical Time Domain Reflectometer (OTDR) to ensure there are no faults along the cable length.
Types of Fiber Termination
- Mechanical Splicing: Involves aligning two fiber ends inside a connector with a mechanical splice and securing them with adhesive or crimping. It’s faster and easier but may result in slightly higher loss compared to fusion splicing.
- Epoxy and Polish: Requires applying epoxy to secure the fiber in the connector, followed by polishing the tip for a smooth finish. It’s more time-consuming but results in a lower loss and more reliable connection.
- Fusion Splicing (not typical for connectorization): For permanent joining of two fibers, fusion splicing is often used, where the fiber ends are melted and fused together.
Summary of Key Steps:
- Strip the cable and buffer coating to expose the fiber.
- Clean the fiber to remove any debris.
- Cleave the fiber for a clean, precise end.
- Insert the fiber into the connector and secure it using epoxy or mechanical splicing.
- Polish the connector if necessary, ensuring a smooth end face.
- Crimp the connector to the cable.
- Test the connection to verify proper signal transmission.