
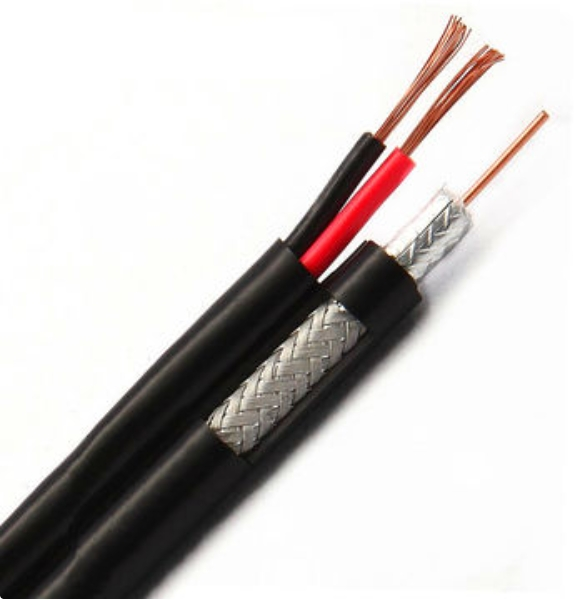
Installing fiber optic cable requires careful planning and execution to ensure optimal performance and durability. Below is a step-by-step guide on how to properly install fiber optic cables, from preparation to testing.
Step-by-Step Guide for Fiber Optic Cable Installation
1. Planning and Site Survey
Before beginning the installation, conduct a thorough site survey to determine the following:- Cable Path: Plan the route for the cable, avoiding sharp bends, obstructions, and areas prone to damage.
- Cable Length: Measure the required length of the cable, including some extra slack for future adjustments.
- Installation Method: Decide whether the installation will be indoor, outdoor, underground, aerial, or in conduit.
- Check building codes and regulations.
- Verify the cable type (single-mode or multi-mode) and connectors based on your requirements.
2. Gather Tools and Equipment
Tools Required:
- Fiber optic cable
- Cable pulling tools (fish tape, pulling grips)
- Cable cleats and cable ties
- Fiber optic connectors or splicing equipment
- Conduit (for underground or indoor installations)
- Optical power meter or OTDR (for testing)
- Fiber optic cleaning tools
- Fusion splicer (if splicing is required)
3. Cable Handling Precautions
Fiber optic cables are sensitive and fragile, so follow these precautions during installation:- Avoid Sharp Bends: Exceeding the minimum bend radius can damage the fibers. Always follow the manufacturer’s bend radius specifications.
- Use Proper Cable Pulling Techniques: When pulling cable through conduits, ensure that the pulling tension does not exceed the cable’s rated tensile strength.
- Protect from Moisture: For outdoor installations, use cables with a moisture-resistant jacket and seal conduits properly to prevent water ingress.
- Cable Slack: Leave sufficient slack at each end of the installation to allow for future repairs or modifications.
4. Install the Cable
A. Indoor Installation
- Conduits or Cable Trays: Run the cable through conduits or cable trays to protect it from damage. Use fire-rated conduits in buildings if required.
- Pulling the Cable: Use a cable pulling tool such as fish tape to guide the cable through walls or conduits. Ensure that the pulling force is evenly distributed to avoid damage.
- Securing the Cable: Use cable ties or cable cleats to secure the cable in place. Do not over-tighten, as this can crush the fibers.
B. Outdoor Installation
- Aerial Installation: For overhead fiber optic cable, use messenger wires to support the cable and install poles at proper intervals.
- Underground Installation:
- Trenching: Dig trenches following safety protocols, and lay conduits for the cables. Ensure the trench depth is compliant with local regulations.
- Cable Pulling: Pull the fiber optic cable through conduits, ensuring it is protected from water and physical damage. Avoid sharp bends.
- Direct Burial: If the cable is to be buried directly, use armoured fiber optic cable and ensure it is laid properly in the trench and covered with protective material.
5. Termination or Splicing
Once the cable is installed, terminate the cable ends with connectors or splice the cable as needed.A. Connector Termination:
- Clean and Cleave the Fiber: Strip the fiber, clean it, and cleave it using a fiber cleaver for a clean cut.
- Install the Connector: Use pre-polished or field-installable connectors and insert the cleaved fiber into the connector following the manufacturer’s instructions.
- Test the Connection: Use an optical power meter or a visual fault locator (VFL) to check the quality of the connection.
B. Fusion Splicing:
- Strip and Clean the Fiber: Strip the protective layers and clean the fiber with alcohol wipes.
- Cleave and Align the Fibers: Use a fiber cleaver to make a precise cut and insert the fibers into the fusion splicer.
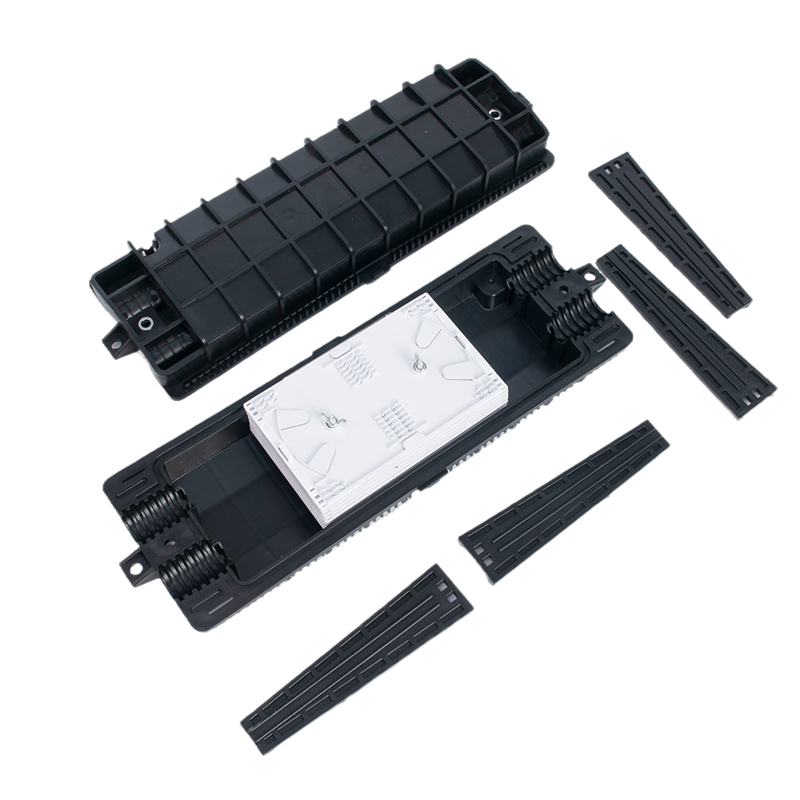
- Perform the Splice: The fusion splicer will weld the fibers together using heat. Once done, protect the splice with a heat-shrink sleeve.
6. Cable Testing
After the cable is installed and terminated or spliced, perform the following tests to ensure proper installation:A. Optical Time-Domain Reflectometer (OTDR):
- Test the entire length of the cable for loss, reflection, and any faults such as breaks or splices.
- Use the OTDR trace to verify the quality of each splice or connector.
B. Optical Power Meter:
- Use a power meter and a light source to measure the signal loss (attenuation) of the fiber.
- Compare the test results with the expected loss values for the fiber type and length to ensure that the installation meets specifications.
C. Visual Fault Locator (VFL):
- A VFL emits visible red light through the fiber. It can help identify breaks, faulty splices, or damaged connectors by showing where the light escapes the fiber.
7. Labeling and Documentation
- Label the Cable: Clearly label both ends of the fiber optic cable for easy identification during maintenance or future upgrades.
- Document the Installation: Keep a detailed record of the installation, including cable routes, lengths, test results, and any splices or connectors used.
8. Maintenance and Future Considerations
- Regularly inspect the fiber optic cables for signs of damage, wear, or environmental impacts.
- Perform periodic testing to ensure that the fiber is still functioning within specifications.
Summary of Key Steps:
- Planning and Site Survey: Ensure you have the right path and length for the cable.
- Cable Handling: Avoid exceeding bend radius and tensile strength limits.
- Install the Cable: Run the fiber through conduits, walls, or trenches.
- Termination or Splicing: Use connectors or fusion splicing to complete connections.
- Test the Cable: Use OTDR, power meters, and VFLs to test the installation.
- Label and Document: Keep clear records for future maintenance.