

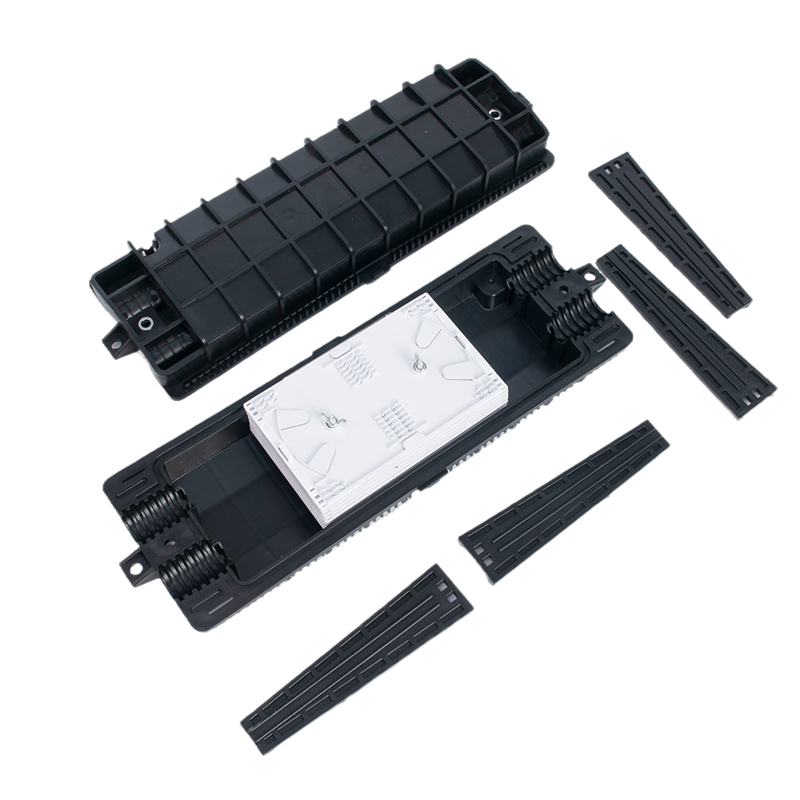
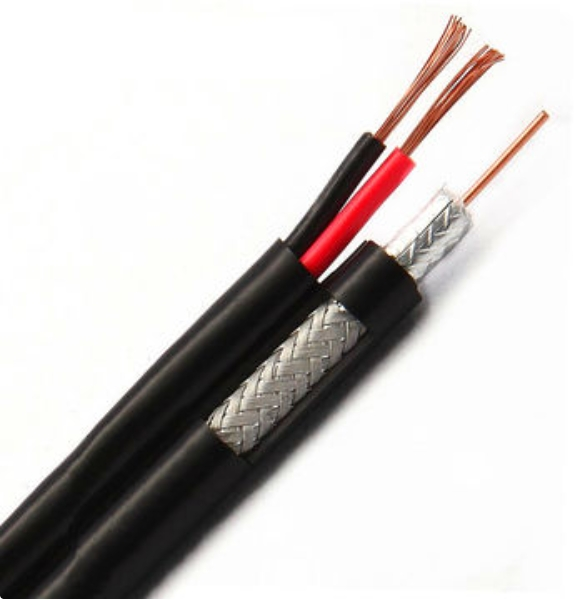
Using an optical cable involves connecting it to the right equipment, ensuring proper installation, and testing the system for optimal performance. Here’s a step-by-step guide on how to use optical cable effectively:
1. Check Compatibility of Equipment
- Ensure that your equipment (e.g., network switches, routers, transceivers) supports optical fiber connections.
- Verify whether your devices require single-mode or multi-mode fiber optic cables and choose the appropriate cable and connectors.
2. Prepare the Optical Cable
- Inspect the cable for damage, kinks, or sharp bends. Optical cables are fragile, especially the glass core.
- Ensure proper length: Measure and confirm that the optical cable is long enough to span the distance between your devices without being overly stretched or looped.
3. Insert Optical Transceivers
- Insert transceivers (like SFP, SFP+, QSFP) into the fiber optic ports of your networking equipment (e.g., switch, router, media converter).
- Align the transceiver correctly with the port, ensuring it clicks into place. Transceivers are sensitive, so handle them carefully.
4. Connect the Optical Cable
- Clean the connectors: Use a fiber optic cleaning kit to clean the ends of the fiber optic connectors before plugging them in. Dust or dirt can cause signal loss.
- Connect the cable:
- Gently insert the LC, SC, or ST connector into the transceiver or optical port on both ends of the cable.
- For duplex cables, make sure the transmit (TX) and receive (RX) fibers are correctly aligned to avoid cross-talk or communication errors.
- Avoid sharp bends: Ensure the cable is not bent beyond its minimum bend radius to prevent signal loss or damage.
5. Test the Connection
- Turn on the devices: Once connected, power on the network equipment to allow the optical signals to begin transmitting.
- Check the status lights: Most devices with fiber optic ports will have status indicators (LED lights) that show whether the fiber link is active.
- Test the fiber connection: Use a fiber optic tester (e.g., power meter, light source, or Optical Time Domain Reflectometer (OTDR)) to check for signal strength, connection quality, and any potential signal loss (attenuation).
6. Configure the Network
- Assign IP addresses or configure the network settings of your connected devices to ensure proper communication between them.
- For large setups, you may need to configure routing or switching protocols (e.g., spanning tree, routing tables) to manage traffic over the optical cable.
7. Monitor Performance
- Regularly monitor the network to ensure the optical cable is functioning optimally. Look out for drops in bandwidth or connection issues.
- Perform periodic maintenance: Use fiber optic inspection tools and cleaning kits to ensure that connectors remain clean and free of debris.
8. Secure the Cable
- Cable management: Organize and secure the optical cable to prevent accidental damage. Use cable ties, raceways, or conduits where necessary.
- Label cables: In larger installations, label both ends of the cable for easy identification and troubleshooting.
Key Points to Remember:
- Handling the cable: Be gentle when handling fiber optic cables as they can be easily damaged.
- Cleaning connectors: Keep the connectors clean before plugging them into any equipment to avoid performance issues.
- Testing: After installation, always test the connection to ensure signal strength and quality.