

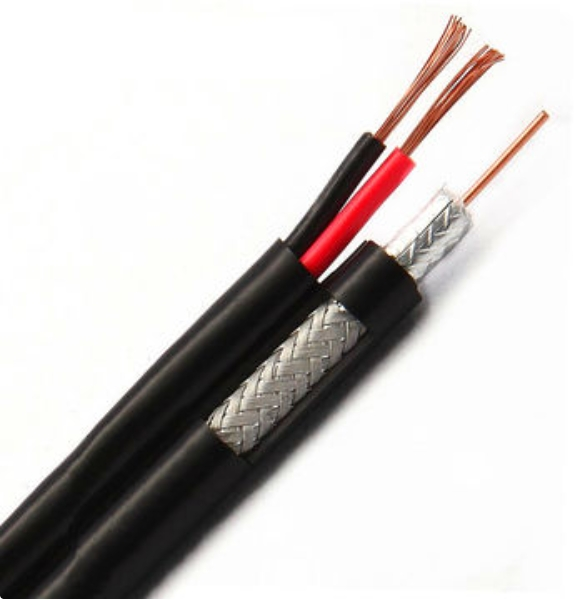
Getting an optical cable to work involves proper installation, connection, and configuration. Here’s a step-by-step guide to ensure your optical cable is functioning correctly:
1. Check the Cable Type
- Single-mode vs. Multi-mode: Ensure you are using the correct type of optical cable (single-mode for long distances and multi-mode for short distances).
- Connector Type: Verify that your optical cable’s connectors (LC, SC, ST, etc.) match the ports on the devices you’re connecting.
2. Inspect and Clean the Cable
- Inspect for Damage: Before installation, check the cable for any physical damage, kinks, or sharp bends, as these can affect performance.
- Clean the Connectors: Use a fiber optic cleaning kit to clean the ends of the connectors. Dirt or dust on the connectors can degrade the signal.
3. Install the Optical Cable
- Insert Transceivers:
- Install optical transceivers (SFP, SFP+, QSFP, etc.) into the devices’ fiber optic ports (routers, switches, media converters).
- Make sure the transceivers are compatible with the cable type (single-mode or multi-mode).
- Connect the Cable:
- Gently insert the optical cable connectors into the transceivers or ports.
- Make sure to match the transmit (TX) and receive (RX) fibers correctly in duplex cables to avoid miscommunication.
4. Avoid Bending the Cable
- Minimum Bend Radius: Ensure the optical cable is not bent beyond its minimum bend radius, as this can cause signal loss. Most cables will specify the bend radius on the packaging.
5. Power On the Devices
- Turn on the connected devices (e.g., routers, switches) and allow them to detect the optical connection.
- Status Indicators: Check the LED lights on the transceivers or devices. A solid or flashing light usually indicates that the connection is working. A red or off light may indicate a problem with the connection.
6. Test the Connection
- Use a Light Source and Power Meter: Test the cable’s signal by connecting a light source to one end of the cable and a power meter to the other. This will measure the power loss and ensure the connection is functioning properly.
- Optical Time Domain Reflectometer (OTDR): If there’s any signal loss or inconsistency, use an OTDR to diagnose the fiber, checking for bends, breaks, or faulty splicing.
7. Check Network Settings
- Network Configuration: Ensure that the network devices (switches, routers) are configured correctly for fiber optic communication.
- Assign the correct IP addresses, and make sure the devices on both ends of the optical cable can communicate.
- Auto-Negotiation: Verify that the network ports are set to auto-negotiate the connection speed or are manually set to the appropriate speed (e.g., 1 Gbps, 10 Gbps).
8. Secure and Manage the Cable
- Cable Management: Secure the cable to prevent it from being damaged or accidentally disconnected. Use cable ties or raceways to manage excess cable and prevent kinks or sharp bends.
- Label the Cable: For easier troubleshooting and organization, label the cable on both ends, especially in larger installations.
9. Regular Maintenance and Monitoring
- Monitor the Network: Periodically monitor the network for signal degradation, using tools like network analyzers or optical power meters to detect any drops in performance.
- Clean Regularly: Dust and dirt can accumulate over time, so regularly clean the connectors to maintain optimal performance.
Troubleshooting Tips:
- Check Connector Alignment: Ensure the TX and RX are aligned correctly to avoid communication issues.
- Test with Other Cables: If the cable isn’t working, test with another known-good optical cable to isolate the problem.
- Check Firmware/Drivers: Ensure that the devices connected by the optical cable have updated firmware or drivers.